Android Emulator as a Service
Table of Contents
Today we are going to take a look at Google’s Android emulator server Docker Image and scripts⌗
First of all lets talk about why we such feature in our company or our personal usage
- A central emulator for easy access no extra android device connect to PC/Laptop
- Better resource management for local computers
- When we do a change it’s available for every person that we want
Now let’s start the nice process⌗
Requirement⌗
- A debian based linux host
- Make sure docker, git, python (and pip), docker-compose are installed
- being able to use qemu-kvm and make sure it’s installed
Lets do it…⌗
NOTE: banner picture was for lazy persons or if you want an automation on top of that
at first clone this repo https://github.com/google/android-emulator-container-scripts and cd into that
this is where we are configuring our things they are some scripts that google made to make this process easier.
then to get required python packages and use scripts run
source ./configure.sh
wait until every thing is configured (you confirm that you are using virtualenv)
Then you will have emu-docker command available this command is used to manage and create docker images
At first we need to accept the license by running
emu-docker licenses
This will ask you to accept or reject a license
Then we need two files: system image and emulator image
to get url of them run
emu-docker list
and pick a system image and emulator image (its better to use the same revisions for both)
and download both of them, I recommend to download it using terminal and changing out the filename for easy access just set custom output file for wget or curl
Don’t extract zip files
now lets build containers by running
emu-docker create <emulator image> <system image>
wait until images are created
then we need to create user for web ui access
./create_web_container.sh -p <emulator_webview_username>,<emulator_webview_password>
this will also create web ui container
we are mostly behind NAT so we need a TURN server
as for the TURN server I will select coturn; it’s easy to setup
now lets install it and stop it (we don’t want default configuration to start)
apt install coturn
systemctl stop coturn
lets configure our TURN server
just enable TURN server on coturn
vim /etc/default/coturn
    TURNSERVER_ENABLED=1
now we need to configure how coturn should work
vim /etc/default/coturn
    lt-cred-mech
    #set your realm name
    realm=<coturn_realm>
    #coturn username and password
    user=<coturn_username>:<coturn_password>
    external-ip=<host_public_ip>/<host_private_ip>
replace each input with what you want
<coturn_realm>: name for authentication realm forcoturnset it with what you want as a funny name ;)<coturn_username>: username to connect tocoturnwe need it later on<coturn_password>: password to connect tocoturnwe need it later on<host_public_ip>: the public ip of your host or server<host_private_ip>: the private ip for your local network of your host or server
start turn server by running
systemctl start coturn
systemctl enable coturn
now lets tell our server to connect to our TURN server
simply export this environment variable, run the command below
export SNIPPET="{\"iceServers\":[{\"urls\":\"turn:<host_public_ip>:3478\",\"username\":\"<coturn_username>\",\"credential\":\"<coturn_password>\"}]}"
replace inputs with given values from previous step
and add this block to js/docker/docker-compose-build.yaml in the emulator service section
    environment:
      - TURN=printf $SNIPPET
now lets bring it up by running
docker-compose -f js/docker/docker-compose-build.yaml -f js/docker/development.yaml up
wait until our font-end is getting ready
and it will bring it up automatically
Now we have port number 5555 for adb connect and 80 and 443 (http and https) for android view
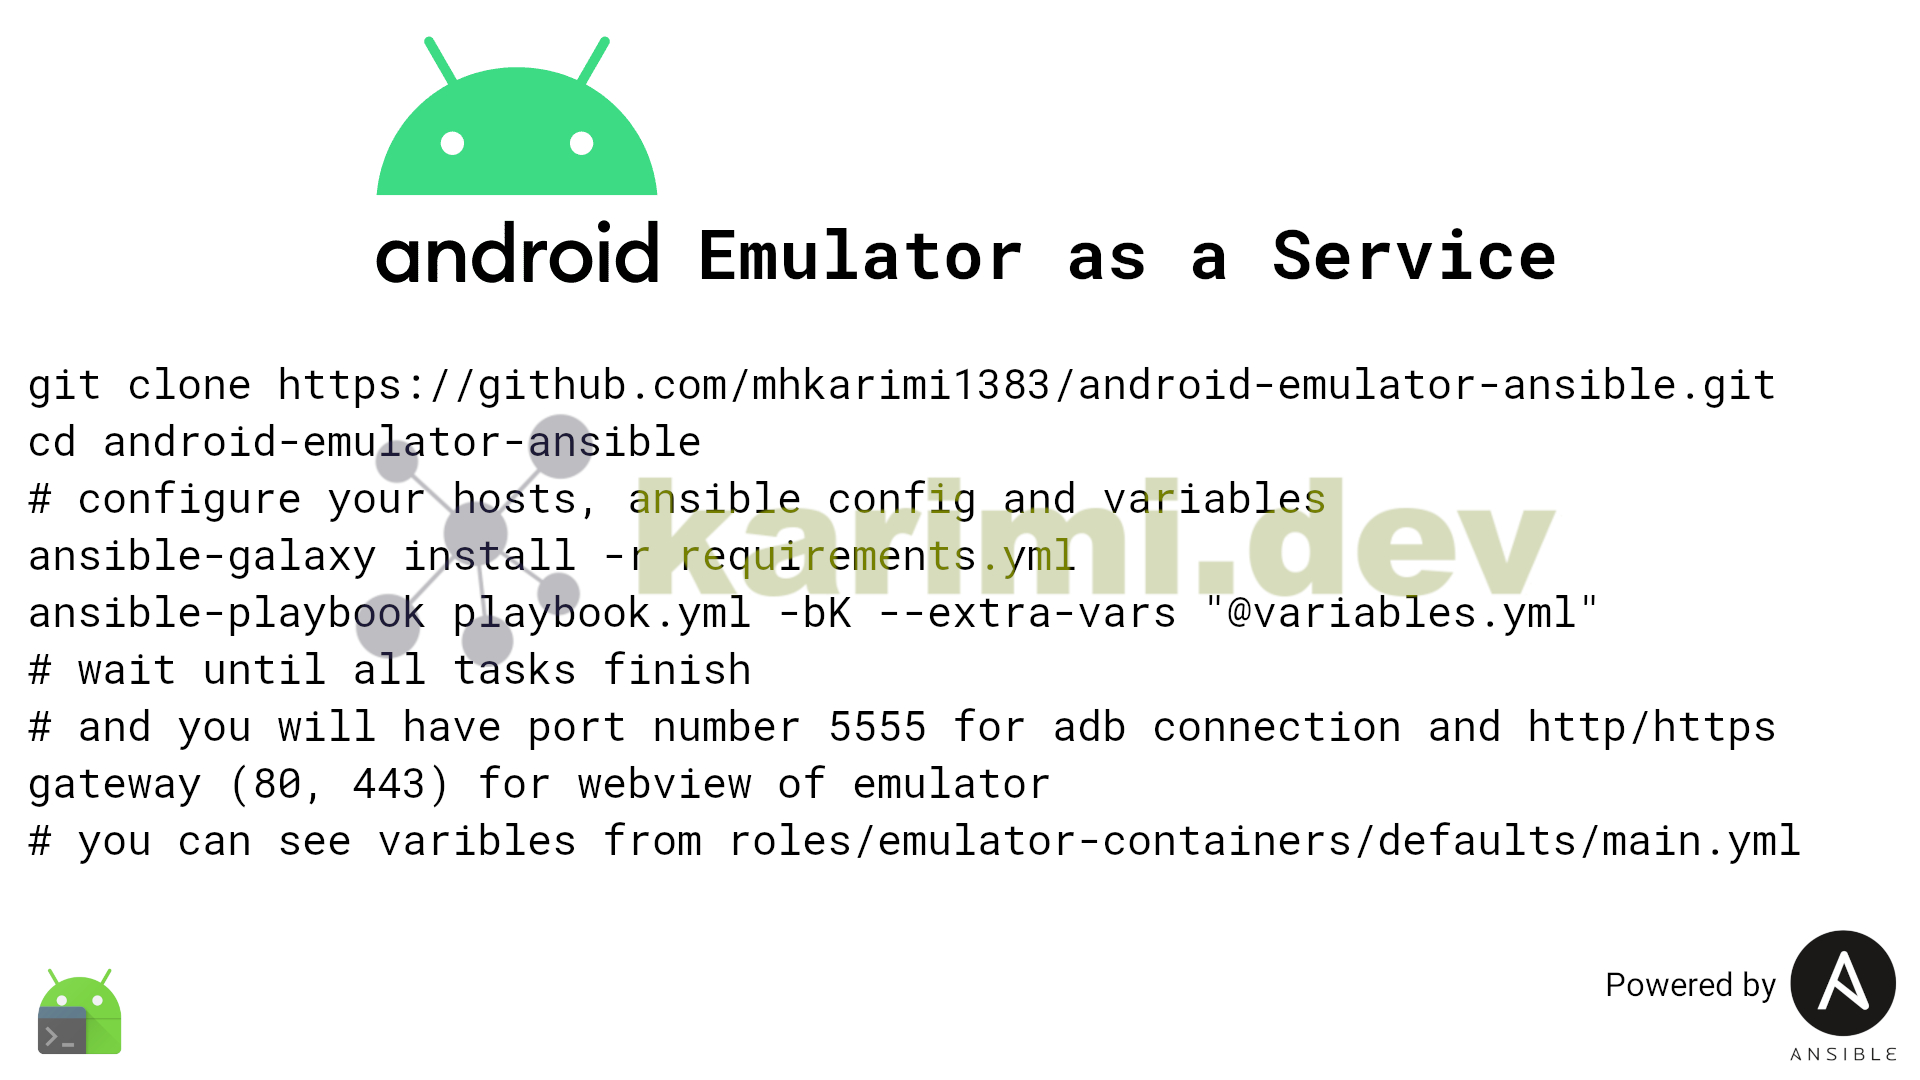
if you want to make it so easy you can just use ansible I made a playbook for that in my github: link it will do it all with some easy steps.
HAVE FUN :)